
How to Check for Roof Damage After a Storm and What Insurance You Need to See
When a major storm hits, your roof often bears the brunt of the impact. The real problem is that a lot of damage is not easy to spot. From the ground, your roof might look fine, but a closer look could reveal missing shingles or a weak spot ready to let water in.
Knowing how to check for this hidden damage is key to protecting your home and avoiding bigger issues later. A quick, thorough check after any severe weather event is a must for every homeowner.
This article will walk you through the correct steps to check your roof after a storm. It covers what specific types of damage to look for, both from the ground and up close.
The post also provides clear instructions on how to document everything for an insurance claim and what your insurance company will need to see to get you a fair result.
The Immediate Aftermath: Starting Your Check Safely
The first steps you take after a storm are the most important. They set the stage for finding all damage and making sure you stay safe.
Safety Is The First Rule
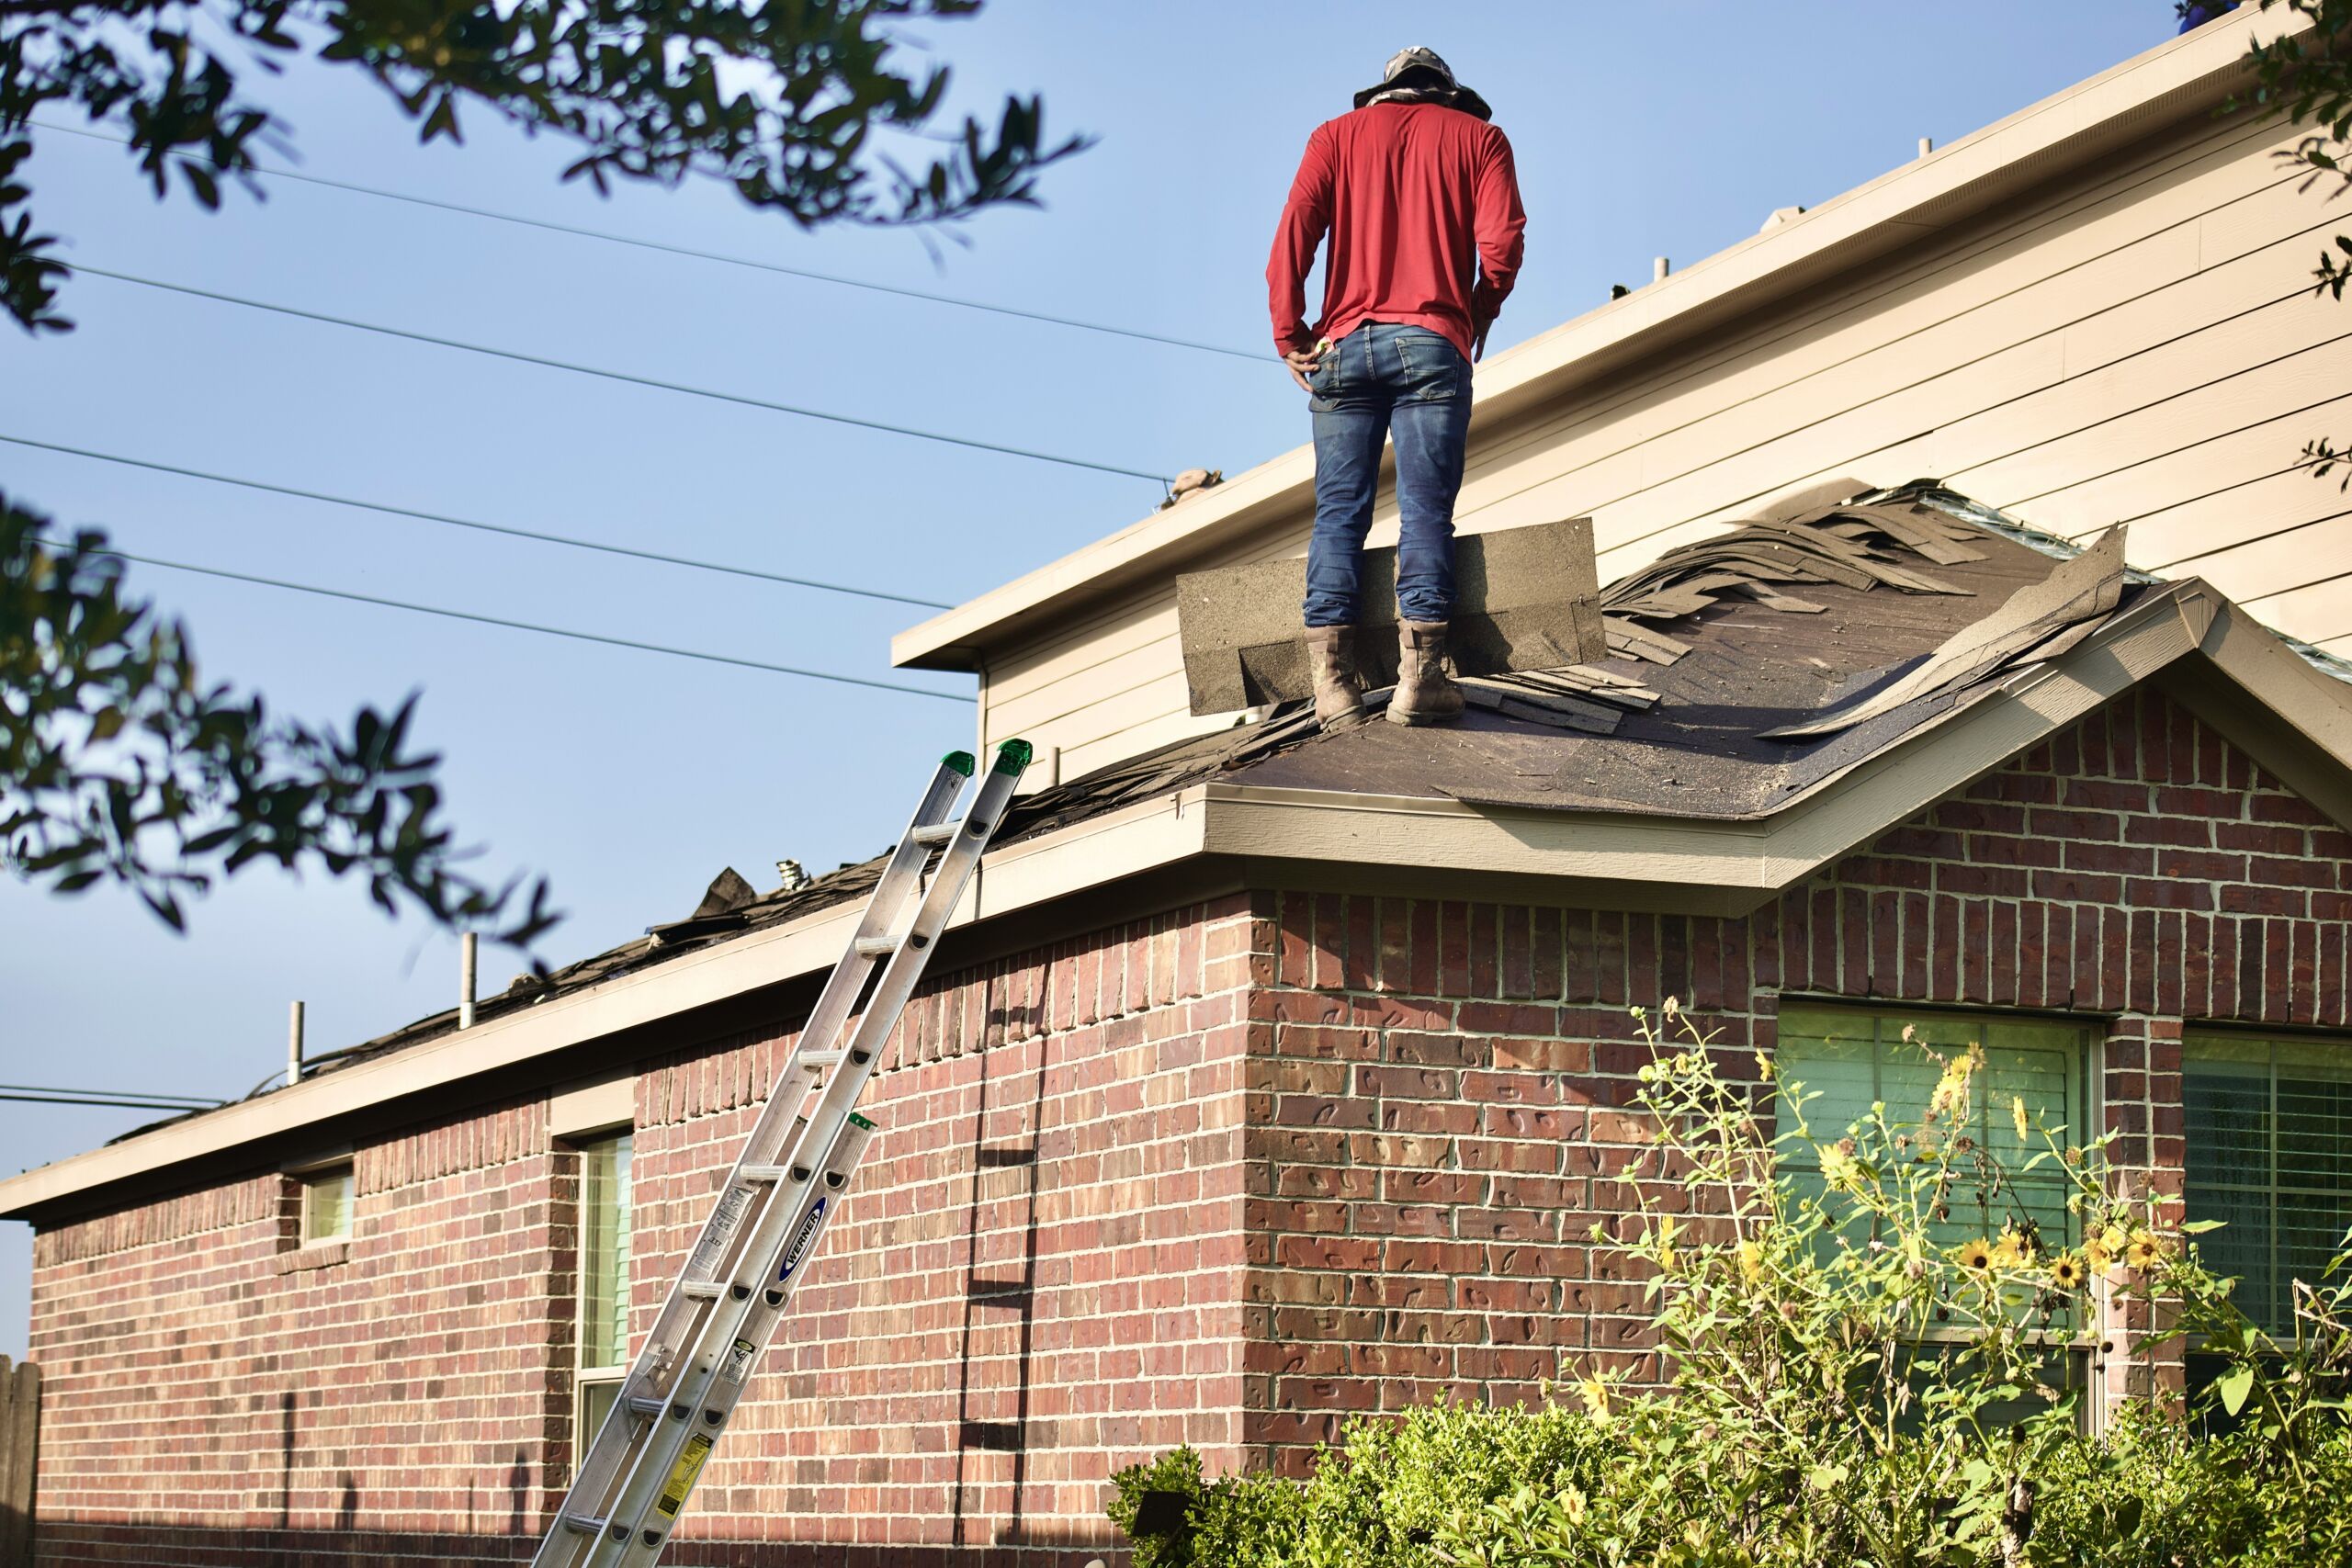
Always wait for the storm to fully pass before you begin any inspection. Do not climb on a wet or unstable roof. If you see major damage or a possible roof collapse, stay away from the area and call a professional right away. For your initial check, it is best to work from the ground with binoculars. This gives you a safe way to get a good look at your roof’s surface without any risk.
A Ground Level View: Your First Line of Defense
Walk around your property and look for these signs:
- Missing Shingles: Are there any shingles on the ground? This is a clear sign of wind damage.
- Debris: Look for large branches or other materials on your roof or in your yard. Any object that landed on your roof could have caused an impact point.
- Gutters: Check your gutters and downspouts. Are they dented, bent, or filled with shingle grit? Shingle grit is the coarse material on the surface of asphalt shingles. Seeing a lot of it in your gutters means your shingles have taken a hit from hail or heavy rain.
An Interior Check: The Final Piece
After your outside look, go inside. Check your attic, ceilings, and walls. Look for any new water spots, leaks, or drips. Water stains on your ceiling or walls are a sure sign of a roof leak. Even a small leak can point to a larger problem on the outside. Do not overlook these small details.
What To Look For: Key Signs of Storm Damage
Not all storm damage looks the same. Here is a breakdown of what to check for based on the type of weather you just experienced.
Wind Damage: The Top Culprit
High winds are a top cause of roof damage. You should look for:
- Lifted or Missing Shingles: Strong winds can lift shingles and break the seals that hold them down. The shingles might be missing entirely or still attached but lifted up, making them weak.
- Displaced Flashing: Flashing is the metal material around your chimney, vents, and other roof features. Wind can pull this loose, creating an opening for water to get in.
- Damaged Vents: Attic vents and other roof accessories can be bent or torn off by wind. This can also leave a hole for water to enter.
Hail Damage: The Silent Threat
Hail damage is hard to spot with just a quick look. It often looks like a small bruise. Look for:
- Dents on Shingles: Hail leaves circular marks on asphalt shingles. These marks are often dark because they remove the protective granules.
- Dents on Gutters and Vents: Check metal parts like gutters, vent caps, and flashing. Dents on these items are a good sign that your roof also took a hail hit.
- Cracked or Broken Shingles: Large hail can cause shingles to crack or break, making them weak and a risk for future leaks.
Debris Damage: Impact Points
Fallen tree limbs or other debris can cause major harm. Look for:
- Punctures or Holes: A large branch can punch a hole directly through your roof’s shingles and decking.
- Scratches: Scratches on your roof from small branches or debris can wear down the protective surface of your shingles. This leaves them exposed and prone to failure.
What To Do After You Find Damage: Your Next Steps
Finding damage is only the first part. How you handle the next steps can make a big difference in the outcome of your claim.
Document Everything With Photos And Videos
Documentation is your best friend when dealing with insurance. Take photos and videos of all damage you find. Get wide shots of your home and roof. Then, get close-ups of every single damaged spot you found. Document all debris on the roof or in your yard. Record any interior damage, like water stains or leaks. Having clear and dated evidence is critical for your claim.
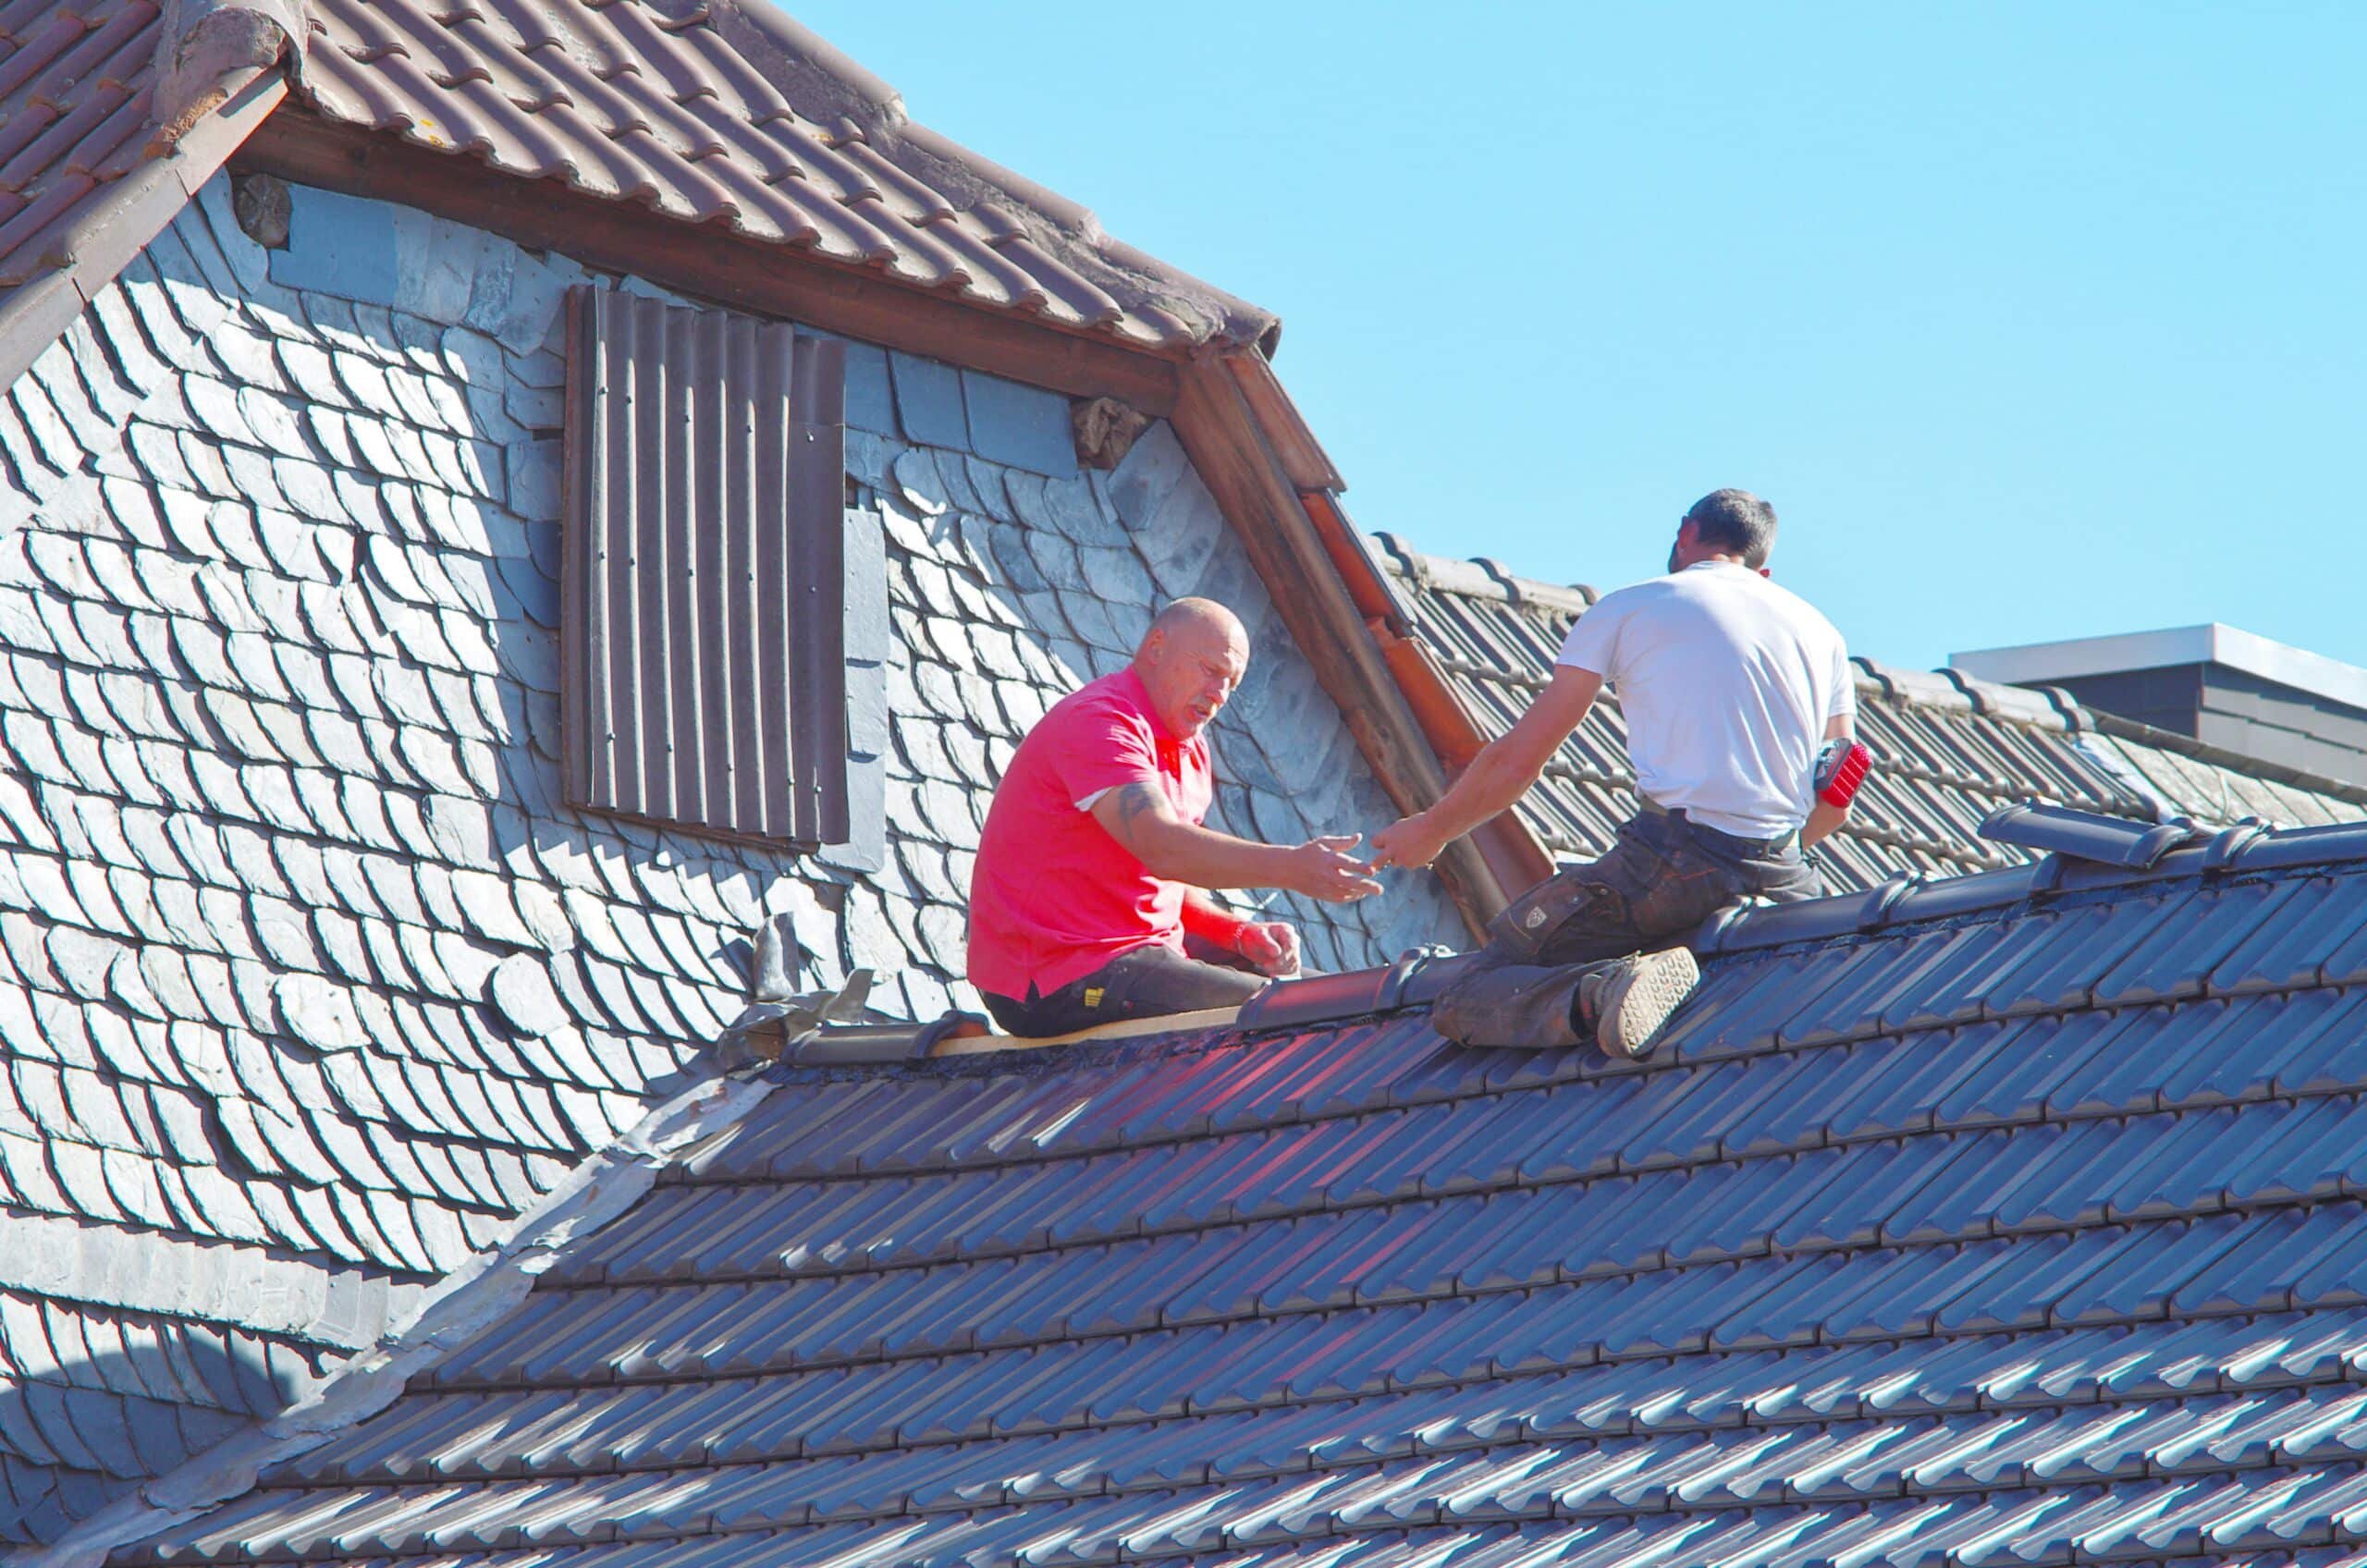
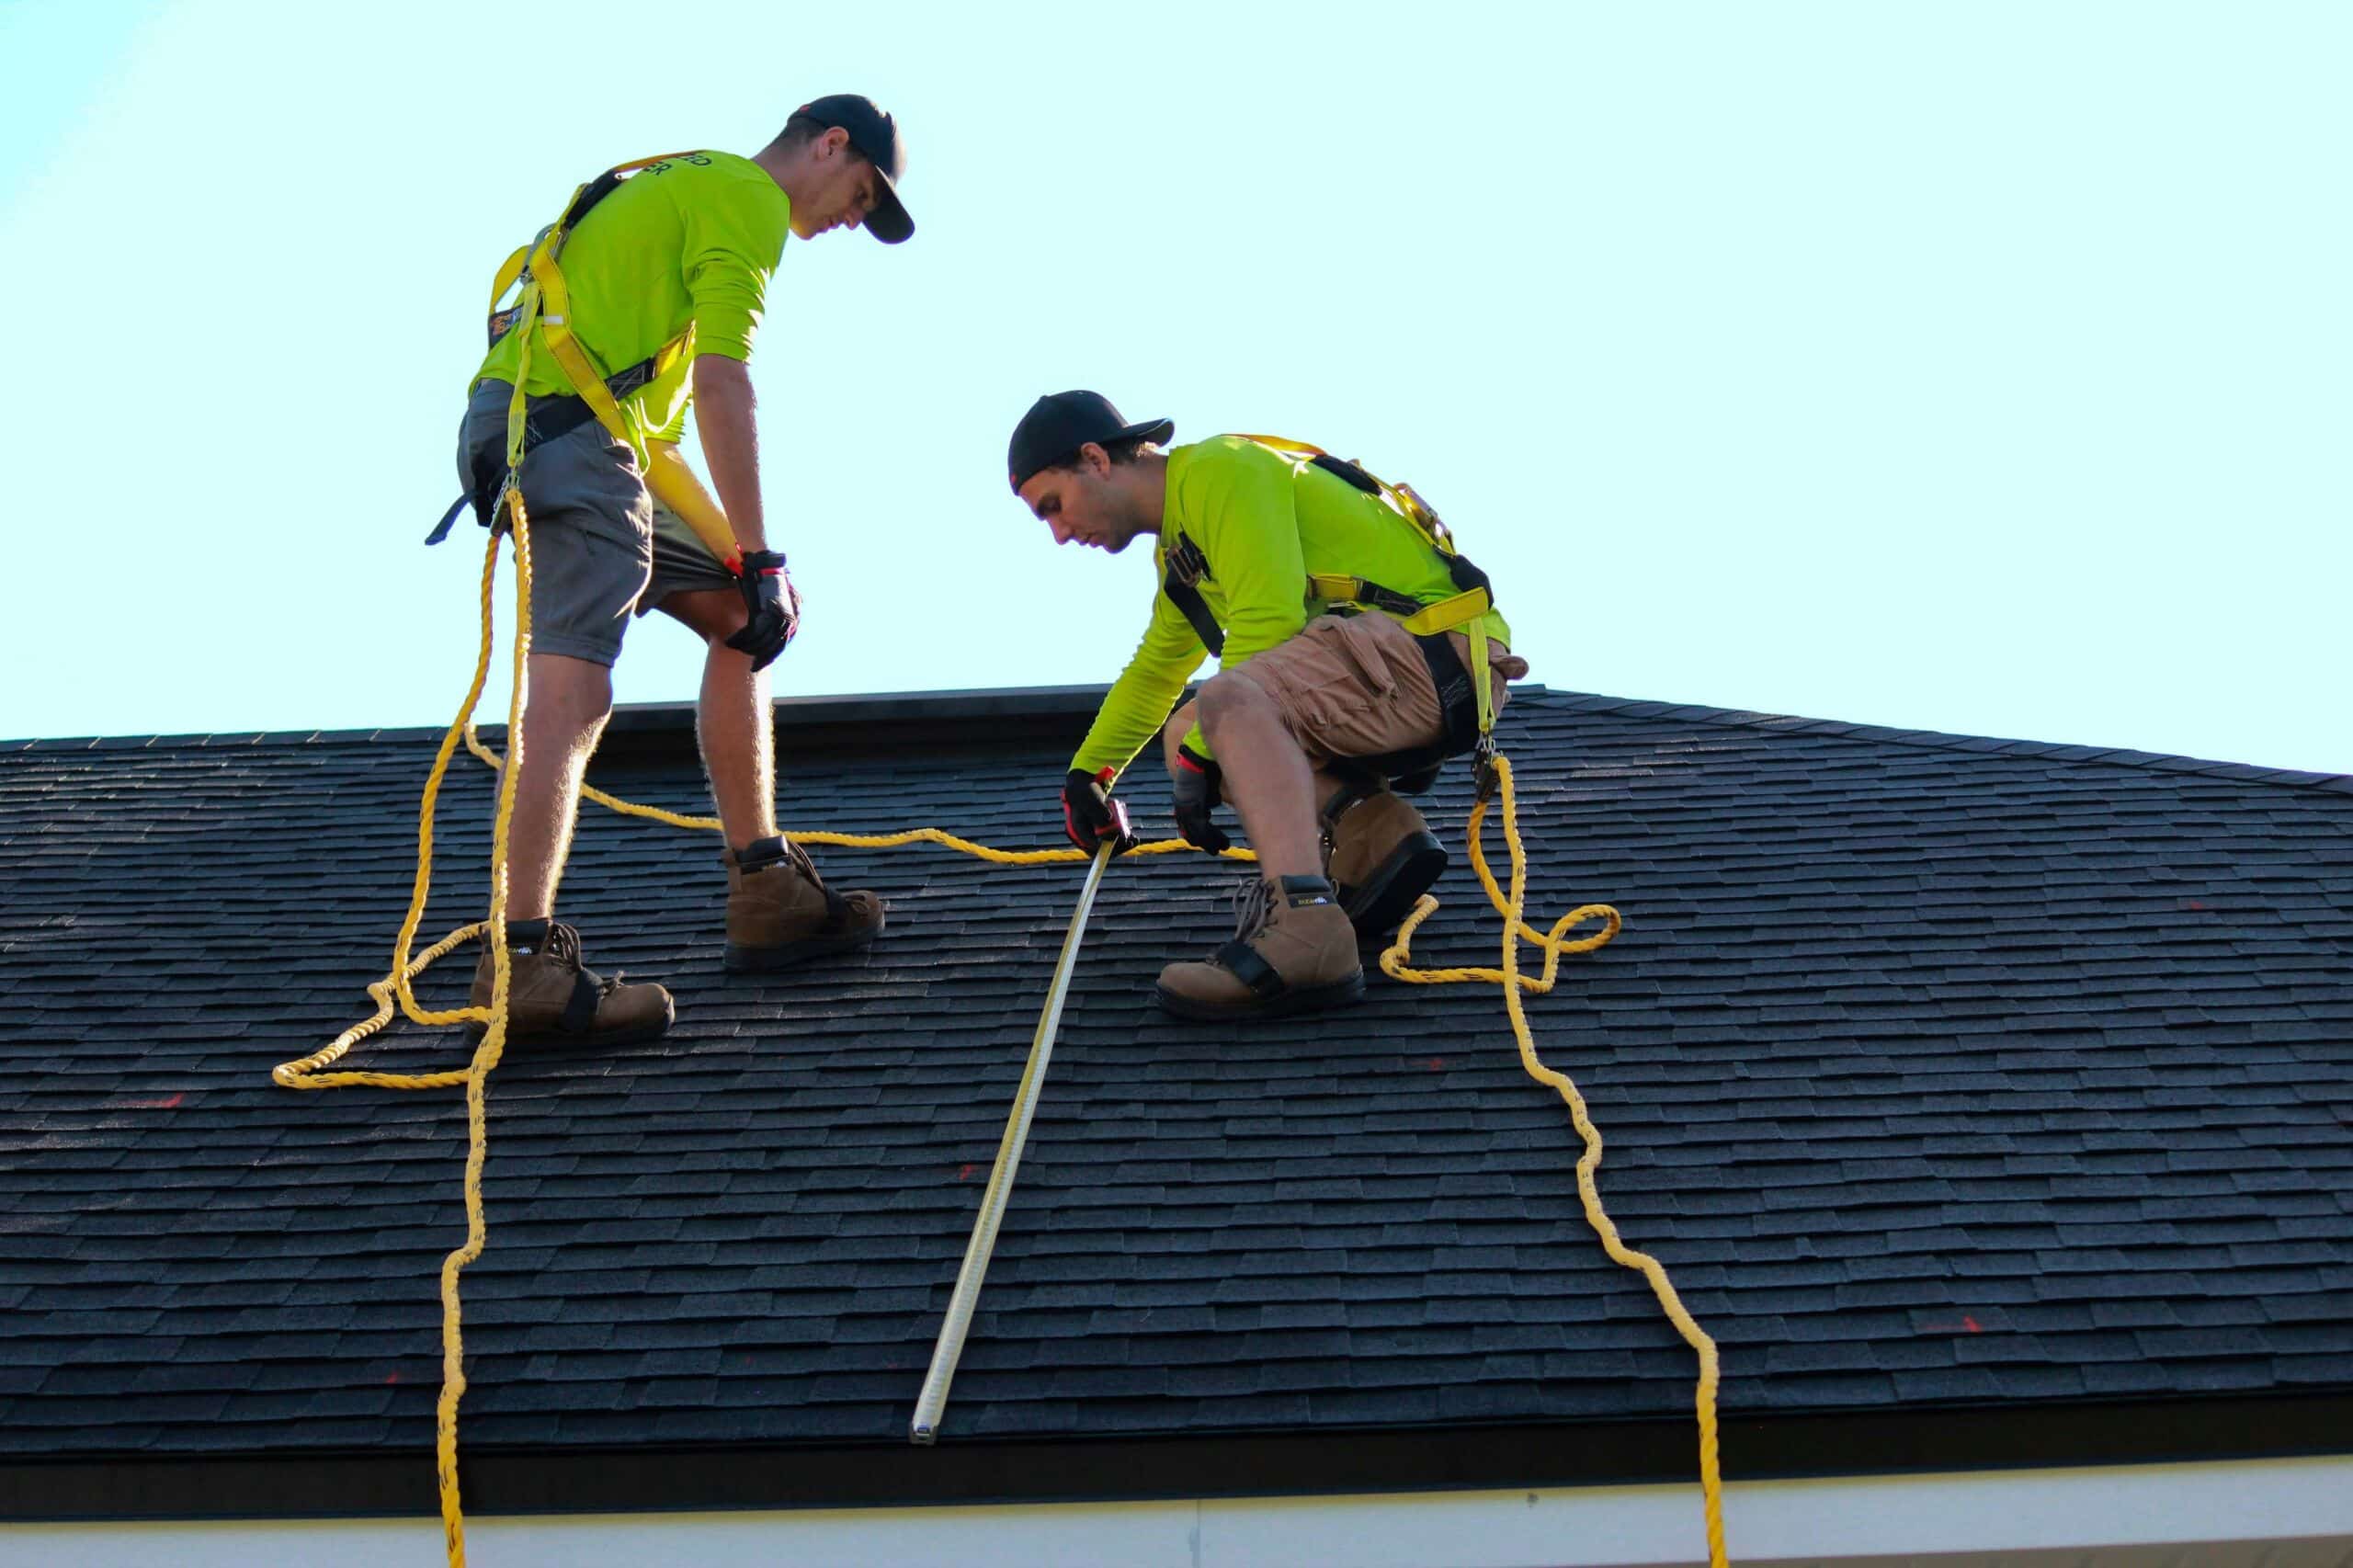
Call a Professional Roofer
After your initial check and documentation, the next step is to call a professional roofing contractor. A pro can perform a full inspection of your roof safely. They have the experience to spot damage that a normal person might miss. They can also provide a detailed, written report of all damage found. This report is often needed by your insurance company. The contractor can also give you an estimate for repairs.
Temporary Repairs To Stop The Bleeding
If you have a serious leak, you need to get a temporary repair done fast. Tarping a roof or other temporary fixes can stop more water from getting in. This protects your home from further damage. Your insurance company will often cover the cost of these temporary repairs, so save all your receipts.
Working with Your Insurance Company
Dealing with insurance can feel like a chore. But if you have all your documents ready, the process goes much smoother.
File a Claim Quickly
The first step is to call your insurance company or file a claim online as soon as you find damage. Do not wait. Many policies have a time limit for filing a claim after a storm.
Provide Your Evidence
When you file your claim, you will need to provide all the evidence you collected. This includes the photos and videos you took of the damage. You will also need to send them the detailed report from your professional roofer, along with the estimate for repairs. Having this all ready upfront can speed up the approval process.
The Adjuster’s Visit
Your insurance company will send an adjuster to your home to inspect the damage. It is a good idea to have your professional roofer there during this visit. The roofer can point out damage and make sure the adjuster sees everything. Your roofer can talk with the adjuster to ensure the full scope of the damage is agreed upon.
Avoiding Common Insurance Pitfalls
Knowing the rules of the game can save you a lot of time and trouble with your insurance claim.
- Read Your Policy First: Before you call, read your policy. Understand your deductible and what types of storm damage are covered. This gives you a clear idea of what to expect.
- Don’t Delay: File your claim as soon as you can. Any delays can be used against you by the insurance company.
- Get Multiple Quotes: It is a good idea to get quotes from more than one roofing contractor. This helps you get a good idea of a fair price for the repair work.
Taking Action After a Storm
A storm can leave your home’s roof vulnerable. By taking swift action, you protect your property and set yourself up for a successful insurance claim.
The key steps are simple: conduct a safe check from the ground, document everything you find, get a professional inspection, and file your claim with confidence. Following these steps helps you navigate the aftermath of a storm with a plan, knowing you are doing everything you can to safeguard your home.
Leave A Comment